

Contents

Unlock Your TV’s Potential: Make a Budget Model Look Premium
Even an affordable television can deliver a stunning visual experience if you take a moment to adjust its picture, HDMI, and network settings instead of relying on factory defaults. By selecting the right picture mode, perfecting brightness, contrast, and colors, and ensuring proper signal and HDR configurations, a less expensive screen can begin to rival much pricier models. All this is achievable without costly professional calibration or replacing your hardware.

Why Your TV Looks Worse at Home Than in the Store
Manufacturers design default picture modes to make screens “win” in bright, retail environments. This means that right out of the box, your TV usually operates in modes like “Dynamic” or “Vivid,” with excessively high brightness, contrast, and saturation. In a home setting, these aggressive settings lead to:
- Blown-out whites: Highlights lose detail.
- Unnatural skin tones: Colors appear oversaturated.
- Lost detail: Shadows become crushed, hiding important elements in dark scenes.
- Artificial artifacts: Overly sharp settings and noise reduction can introduce visual distortions not present in the original content.
Another common issue is aggressive motion smoothing, often enabled by default under names like “TruMotion,” “MotionFlow,” or “Auto Motion Plus.” While intended to reduce blur, this feature often creates a distracting “soap opera effect” and artificial smearing, making cinematic content look unnatural. Simultaneously, active energy-saving modes and light sensors can limit the panel’s peak brightness, causing HDR content to appear flat and overall images to look washed out in well-lit rooms. Fortunately, all these issues are rectifiable.
The Power of Filmmaker Mode and Picture Presets
The simplest first step to significantly improve picture quality is to select “Filmmaker Mode” on your television. If this specific mode isn’t available, opt for a cinematic profile such as “Cinema,” “Movie,” or “Calibrated.” These modes are designed to minimize or disable most post-processing, aiming to present content closer to the creator’s original intent.
Filmmaker Mode was developed as an industry standard to ensure viewers see content as authentically as possible. While generally excellent, it’s still wise to check motion settings separately, as implementations can vary between brands.
Increasingly, Filmmaker Mode supports not only HDR10 but also Dolby Vision. On select LG and Samsung TVs, when paired with an Apple TV+ device, it can even activate automatically. While a filmic profile might seem less “impressive” than the vibrant store or sports settings, it provides a far superior foundation for subtle personalization. If the image appears too dark or too warm, you can gently boost the brightness or fine-tune the color palette to your preference. Learn more about advanced display technologies in new LG Smart TVs.
Fine-Tuning Your Picture Parameters
Once you’ve selected the appropriate picture mode, manual adjustment of brightness and contrast is crucial:
- Contrast: Begin with a dark scene. Gradually increase the black level until you can see detail in the shadows without them becoming gray or washed out.
- Brightness: Switch to a bright scene. Adjust the white level until bright areas like clouds, clothing textures, or reflections retain their detail without appearing overexposed or “blown out.”
For Standard Dynamic Range (SDR) content, a medium brightness level paired with higher contrast often works well. For High Dynamic Range (HDR) content, you’ll generally want to set brightness higher (this depends on your TV panel’s capabilities) and adjust contrast to ensure the brightest parts of the image still retain detail.
Color and Sharpness
- Color Temperature: It’s best to stick with a “warm” color temperature setting. This eliminates the overly blue, “cold” whites typical of “Standard” and “Dynamic” modes, resulting in more natural and accurate colors.
- Color Saturation: Adjust this until skin tones and natural elements (like foliage) look realistic and not artificial or cartoonish.
- Sharpness: In most cases, significantly reduce the sharpness setting, often to near zero. High sharpness values add artificial halos and noise around edges, which actually degrade the perception of sharpness rather than improving it.
Motion, Gaming Mode, and Backlight Settings
Motion Settings: Eliminating the “Soap Opera Effect”
TV motion settings are a primary culprit behind the “soap opera effect,” which many associate with cheap video, even when watching expensive cinematic productions. Disabling or significantly reducing motion smoothing features (e.g., “De-judder,” “De-blur,” “TruMotion,” “MotionFlow,” and similar options) will almost instantly restore the cinematic character of the image. Your TV will cease to look like it’s playing a TV report instead of a high-quality VOD production.
Dedicated Gaming Mode
For gaming, the situation is different. The key isn’t motion smoothing, but minimal signal delay (input lag). If you’re connecting consoles or a PC, it’s essential to switch the input to a dedicated “Game Mode.” This mode reduces input lag and often enables features like ALLM (Auto Low Latency Mode) and VRR (Variable Refresh Rate), crucial for a responsive gaming experience.
Local Dimming (for LCD TVs)
For LCD televisions, local dimming is a critical feature that significantly impacts picture quality. It enhances contrast performance and achieves deeper blacks by selectively dimming LED backlights in dark areas and brightening them in bright areas. For movie watching, it’s generally beneficial to enable local dimming. However, for gaming, you might consider disabling this function, as it can sometimes introduce blooming or latency artifacts.
Other Crucial Settings for Optimal Performance
To fully leverage your TV’s capabilities, a good picture mode isn’t enough. Proper configuration of HDMI connections is also vital, including enabling high-bandwidth modes for ports connected to a console, PC, or streaming device. In the HDMI settings, ensure that enhanced signal support for features like 4K, Dolby Vision, VRR, or 120 Hz is activated. Only then will your TV accept the full bandwidth required for experiences such as 4K 120 Hz gaming with HDR. Explore the evolution of display connectivity.
If your wireless network frequently experiences bottlenecks or your TV is far from the router, switching to an Ethernet connection is a wise move. A wired connection provides significantly more predictable bandwidth, crucial for high-quality streaming. Additionally, review your power-saving and automatic brightness settings; aggressive eco-profiles can severely limit peak HDR brightness and should often be disabled for optimal viewing.
Summary and Key Takeaways
It’s important to note that most of these adjustment tips behave differently on OLED televisions compared to LCDs. Budget TVs primarily rely on LCD technology, so this guide is primarily aimed at users of these models. OLED users operate under slightly different conditions: true black colors are achieved by entirely switching off individual pixels. Therefore, brightness and contrast settings have different characteristics and a lesser impact on dark scene reproduction than on LCD panels.
Manually adjusting your picture settings can dramatically improve your viewing experience. Of course, the best results will always come from professional calibration using a colorimeter and software like Calman, which can reduce color reproduction errors to a level undetectable by the human eye.
Frequently Asked Questions (FAQ)
What is the “soap opera effect” and how can I get rid of it?
The “soap opera effect” is a visual artifact caused by excessive motion smoothing (also known as motion interpolation, frame interpolation, or motion compensation). It makes movies and TV shows look unnaturally smooth, resembling a low-budget video recording rather than a cinematic production. To get rid of it, go into your TV’s picture settings and disable or significantly reduce features with names like “TruMotion,” “MotionFlow,” “Auto Motion Plus,” “Motion Enhancer,” or “De-judder”/”De-blur.”
Why does my brand-new TV look worse at home than it did in the store?
TVs in retail stores are often set to “Vivid” or “Dynamic” modes with extremely high brightness, contrast, and color saturation. These settings are designed to make the TV stand out in a bright showroom, but they are unsuitable for a typical home environment. At home, these settings can lead to distorted colors, loss of detail in bright and dark areas, and an overall unnatural image. Switching to a “Filmmaker Mode,” “Cinema,” or “Movie” preset and then fine-tuning specific parameters will provide a much more accurate and enjoyable picture.
Should I always use Game Mode when playing video games on my TV?
Yes, for the best gaming experience, you should almost always enable “Game Mode” on your TV when connecting a console or PC. Game Mode significantly reduces input lag, which is the delay between your controller input and the action on screen. It also often activates features like Auto Low Latency Mode (ALLM) and Variable Refresh Rate (VRR), essential for smooth, responsive gameplay. While it might slightly alter picture processing, the benefit of reduced lag for gaming far outweighs any minor visual compromises.
What is local dimming and when should I turn it on or off?
Local dimming is a feature on many LCD TVs that improves contrast and black levels by selectively dimming specific zones of the LED backlight. This means dark areas of the screen can be made darker while bright areas remain vibrant. For watching movies and TV shows, enabling local dimming is generally recommended as it creates a more dynamic and impactful image. However, for gaming, some users prefer to disable it, as it can sometimes introduce a “blooming” effect around bright objects on dark backgrounds, or in rare cases, slightly increase latency. Experiment with it to see what you prefer for gaming.
Can these simple TV adjustments truly make a budget television look significantly better, or do I need to buy a more expensive model?
Absolutely! While a premium TV will always have inherent advantages in panel quality and processing power, correctly adjusting your budget TV’s settings can yield a surprisingly dramatic improvement in picture quality. Out-of-the-box settings are rarely optimized for home viewing and often prioritize showroom appeal over accuracy. By following the advice in this guide—selecting the right picture mode, fine-tuning brightness, contrast, color, and sharpness, and optimizing HDMI and network settings—you can unlock a much more accurate, vibrant, and enjoyable viewing experience that often comes remarkably close to what you’d expect from a higher-end model, all without spending a dime on new hardware. It’s the most cost-effective upgrade you can make to your TV.
Source: Pocket-lint, TechDreamSpec, cnet, Consumer Reports, LG, Samsung.
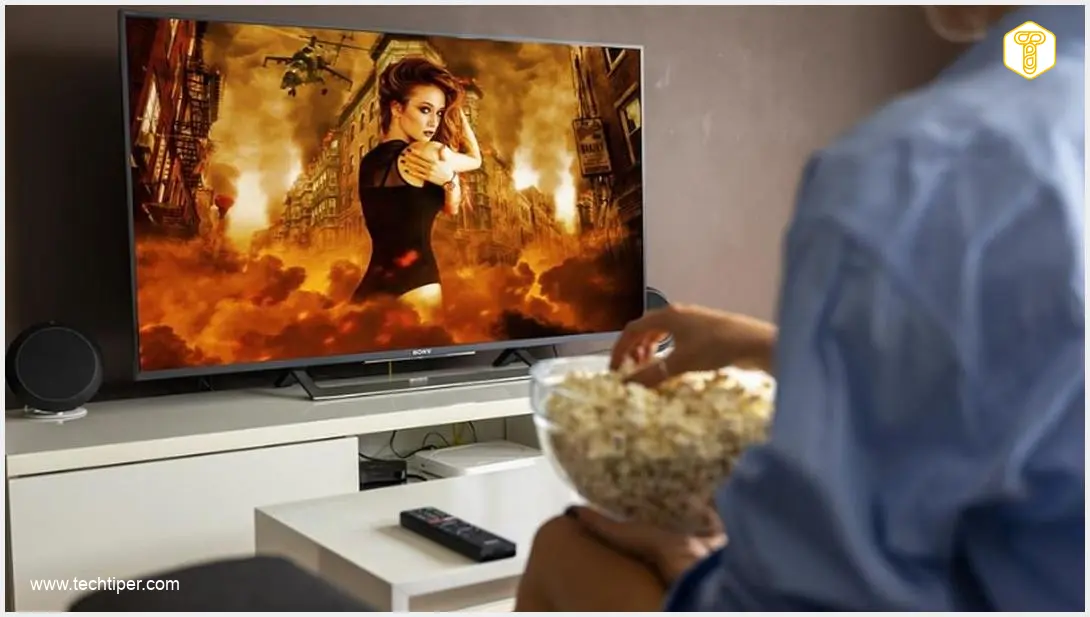
Opening photo: Frank_Reppold / PixaBay