

Contents

Unlock Your TV’s True Potential: Expert Tips for Superior Picture Quality
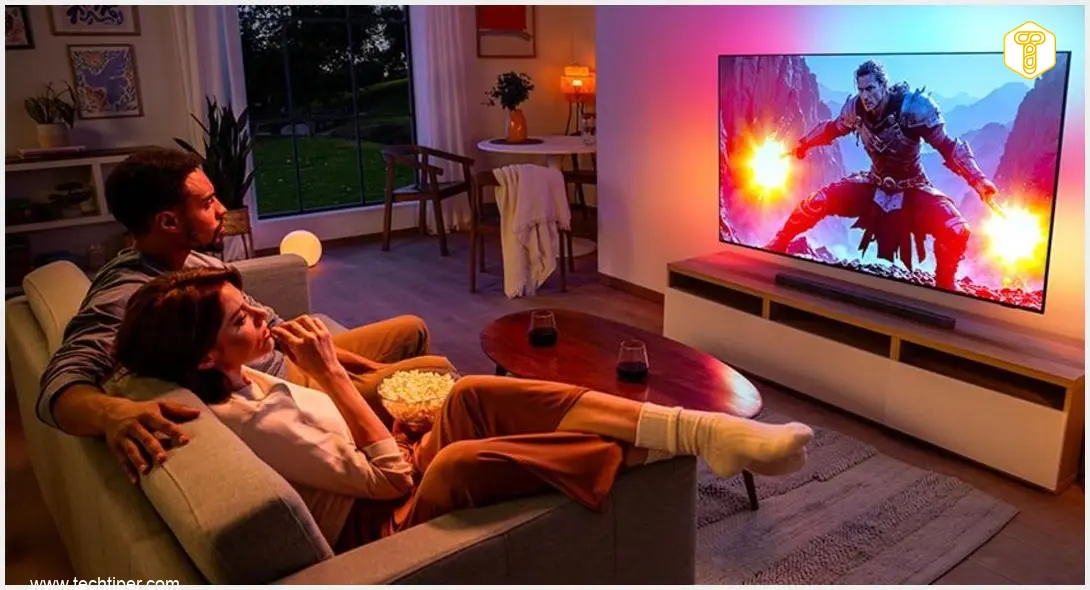
Picture quality is paramount for an immersive television viewing experience. While hardware limitations can’t always be completely overcome, several adjustments can significantly enhance clarity, color, and overall visual fidelity. This guide will walk you through common issues and provide actionable steps to elevate your TV’s performance.

Common TV Picture Quality Problems and How to Fix Them
Even the best TVs can deliver a subpar image if not configured correctly. Here are the most frequent culprits behind a disappointing picture and how to resolve them.
1. Incorrect Aspect Ratio or Image Size
One of the quickest ways to detract from picture quality is an improperly scaled image. If content looks stretched, squashed, or cut off, your TV’s aspect ratio settings are likely incorrect.
- For Standard TVs: Navigate to your TV’s picture settings and look for options like ‘Picture Size,’ ‘Zoom,’ ‘Wide Screen,’ or ‘Aspect Ratio.’ Experiment with these settings until the image appears correctly proportioned.
- For Modern 4K TVs and Beyond: Many newer televisions, especially those supporting 4K resolution, offer ‘Just Scan’ or ‘Original’ modes. Selecting these ensures the TV displays the picture without any additional cropping or scaling, presenting content exactly as intended by the source.
2. The Infamous “Soap Opera Effect”
Have you ever watched a movie that suddenly looked like a cheap daytime soap opera, with an unnaturally smooth and almost too-real motion? This phenomenon is widely known as the ‘soap opera effect’ (SOE) and is caused by your TV’s motion smoothing features.
- Understanding SOE: Modern TVs often use motion interpolation technology to create additional frames between existing ones, aiming for smoother motion. However, this can make cinematic content look artificial.
- How to Disable It: To eliminate the SOE, simply turn off the motion smoothing feature in your TV’s picture settings. Look for names like ‘TruMotion’ (LG), ‘Motionflow’ (Sony), ‘Auto Motion Plus’ (Samsung), ‘Motion Smoothing,’ ‘Frame Interpolation,’ or similar settings. Deactivating this will instantly restore the natural cinematic look of films and shows.
3. Fluctuating or Inconsistent Brightness
If your TV’s picture constantly changes brightness or appears too dark, especially in varying room conditions, automatic picture adjustments might be the cause.
- Ambient Light Sensors: Many TVs feature an ambient light sensor (often called ‘Auto Brightness,’ ‘Intelligent Sensor,’ or ‘Eco Sensor’) that automatically adjusts screen brightness based on room lighting. While intended to save energy and reduce eye strain, it can lead to inconsistent viewing.
- Energy Saving Modes: Similarly, various ‘Energy Saving’ or ‘Eco’ modes can aggressively dim the screen.
- The Fix: To ensure consistent brightness, disable both the ambient light sensor and any energy-saving features in your TV’s settings. This gives you full control over your TV’s backlight and contrast.
4. Unnatural or Distorted Colors
When colors on your screen look overly vibrant, washed out, too blue, or too green, your TV’s color settings likely need calibration.
- Cinema/Movie Mode: The quickest solution for natural colors is to switch your TV to a ‘Cinema Mode’ or ‘Movie Mode.’ These preset modes are generally designed to reproduce colors accurately, closer to industry standards.
- White Balance Adjustment: For more precise control, delve into ‘White Balance’ settings. Here, you can adjust the color temperature. Opt for ‘Warm1’ or ‘Warm2’ settings, which typically produce a more natural and less blue-tinted image, especially for skin tones and white objects.
- Advanced Calibration: For professional-level color accuracy, consider investing in a dedicated calibration service or a colorimeter. This ensures your TV displays colors exactly as the content creators intended.
5. High Dynamic Range (HDR) Issues with External Devices
High Dynamic Range (HDR) offers stunning contrast and color, but getting it to work correctly with external devices like gaming consoles or streaming boxes can sometimes be tricky. If your HDR content looks dim or washed out, here’s what to check:
- Source Device HDR Setting: First, ensure that HDR output is enabled on your external device. This setting is usually found in the system or display menu of your game console, Blu-ray player, or streaming device. For example, modern gaming consoles allow users to enable HDR output specifically for supported games and media. You can learn more about advanced display technologies in LG’s New Smart TVs: AI, Micro-RGB, OLED, Gaming.
- HDMI Port Configuration: Many TVs require specific HDMI ports to be configured to accept a full HDR signal. Navigate to your TV’s input settings (often labeled ‘HDMI Input Format,’ ‘HDMI Deep Color,’ or ‘Enhanced HDMI’) and select the option for ‘HDMI 2.0 Enhanced,’ ‘HDMI 2.1,’ or ‘Auto.’ Ensure you’re using a high-speed HDMI cable that supports the necessary bandwidth for HDR. Issues with connectivity can sometimes make you Decline the HDMI Era: Why Wireless 4K Transmissions are Preferred.
- Cable Quality: Always use certified High-Speed HDMI cables (often labeled ‘Premium Certified’ or ‘Ultra High Speed’) to ensure sufficient bandwidth for 4K HDR signals. Older or lower-quality cables may not be able to transmit the required data.
Frequently Asked Questions (FAQ)
The ideal viewing distance depends on your TV’s size and resolution. For 4K TVs, a general rule of thumb is to sit 1 to 1.5 times the screen size (diagonal measurement) away. For example, a 55-inch 4K TV would be best viewed from 55 to 82.5 inches (approximately 1.4 to 2.1 meters). This allows you to appreciate the detail without seeing individual pixels.
While built-in smart TV platforms have improved significantly, external streaming devices (like Apple TV, Roku, Fire TV, or Nvidia Shield) often offer faster performance, more frequent updates, a wider app selection, and sometimes better picture/audio processing. If you prioritize speed and access to the latest features, an external device is often a superior choice. However, for casual viewing, the TV’s built-in apps are perfectly adequate.
For most users, calibrating your TV once after initial setup is sufficient. However, if you’re a serious enthusiast or content creator, you might consider professional calibration every one to two years, or if you notice significant changes in picture quality. Minor adjustments can always be made manually if you change your viewing environment (e.g., new lighting) or if your eyes perceive colors differently over time.
A blurry picture on a high-resolution TV can be frustrating. Common culprits include a low-resolution source signal (e.g., watching standard definition content on a 4K TV), an improperly connected cable (ensure HDMI cables are securely seated and not damaged), or incorrect TV settings. Check your TV’s sharpness setting; counter-intuitively, setting it too high can introduce artificial edginess that looks like blur. Ensure motion smoothing features are off if you prefer a cinematic look, as some interpolation can also degrade perceived sharpness. Finally, ensure your TV’s firmware is up to date.
Source: PCMag
Opening photo: Philips / press materials