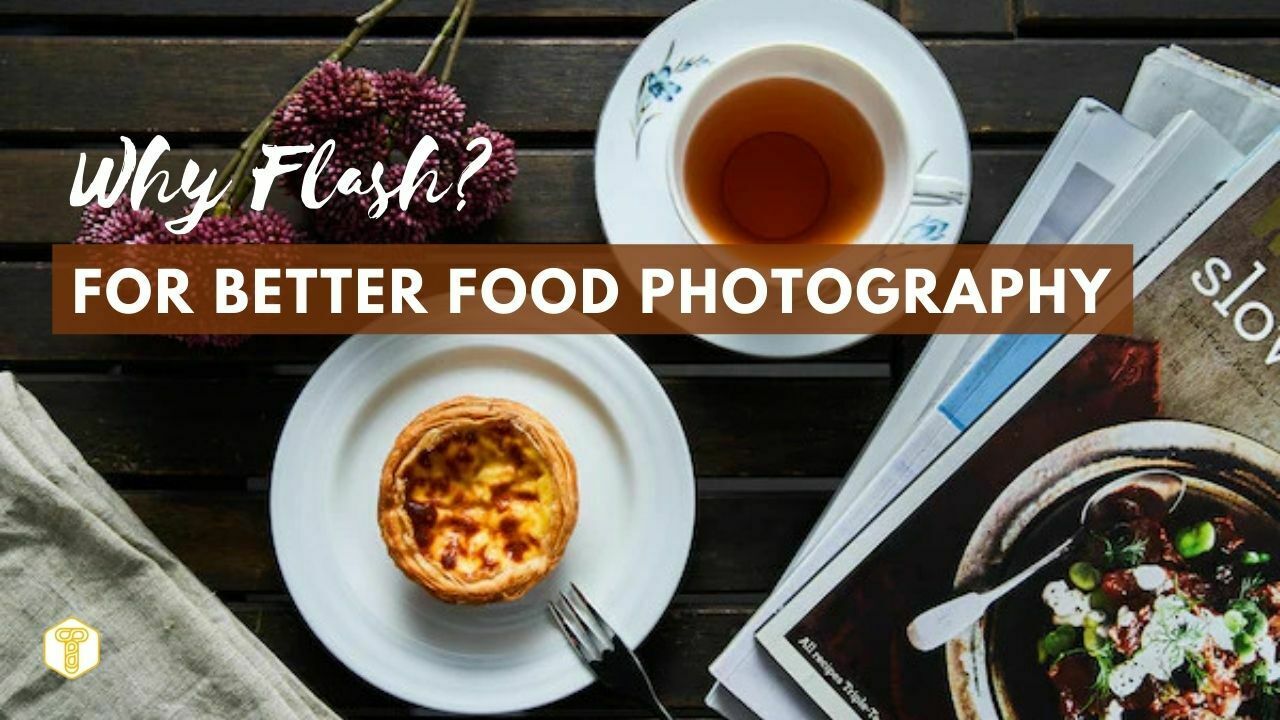
In the field of food photography, natural light is always touted, after all, it produces the best results; however, “the best is not necessarily the best”, since the intensity and angle of sunlight are affected by weather and time, natural light conditions Often uncontrollable, there is a feeling of “depending on the sky to eat”.
Therefore, many professional food photographers try to use artificial light sources (or artificial + natural light sources) to create the lighting effects they want and control.
Don't frown when you hear "lighting" and think "it's so complicated and difficult", in fact, only some fairly simple lighting techniques are needed for most daily shooting needs - unless you are doing Commercial food photography.
READ ALSO: Sony FE 16-35mm F2.8 GM lens SEL1635GM review
All you need is a flash (or constant light source), plus some simple auxiliary equipment, to create this shot that is very similar to natural light from a window:

How should it be done? Let’s start with the preparations before shooting.
Contents
1. Preliminary preparation
When shooting food photography, if you don’t focus on highlighting a large close-up of a certain part, it is likely to use a small aperture (such as f/22) to obtain an “overall clear” effect; moreover, it is generally necessary to load a soft light source on the flash. A modified “filter” will further result in a loss of light.
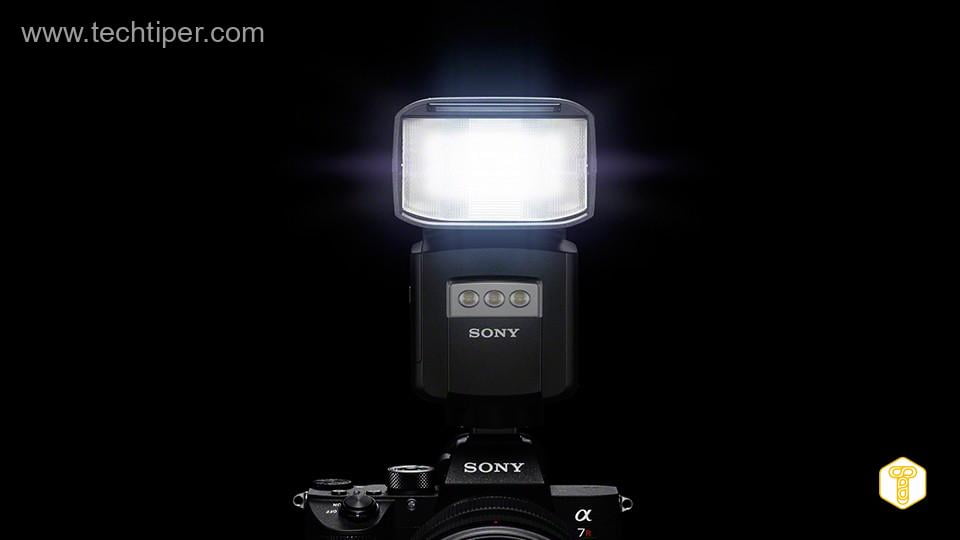
So, you may need a flash with a higher output power. There are also many photographers who prefer to use a constant light source (such as an LED light panel), so that they can see where the shadow falls and make targeted adjustments before pressing the shutter.
Besides lights, you will also need some auxiliary tools.
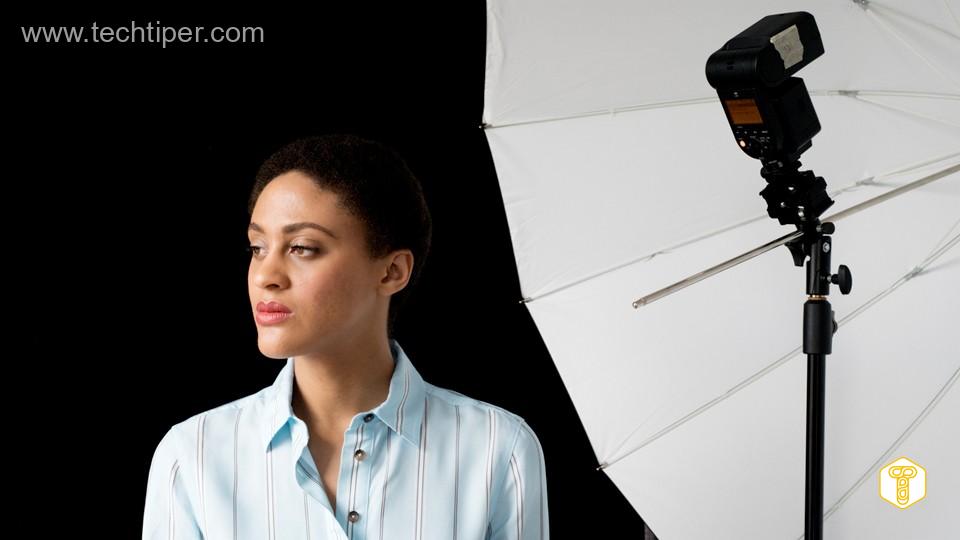
Among them, the most commonly used auxiliary tool is the softbox, the bigger the better, to “soften” the light and reduce the shadows; in contrast, you may also need a 20 degree or 30 degree honeycomb mask, which is used to form Directed light to control light and shadow effects.
You can also prepare a 5-in-1 reflector, put it next to the light source to act as a diffuser, expand the point light source into a sheet, and create a similar "window light" effect:
You can also prepare some white or black cardstock (or foam board) and place it on the opposite side of the light source to act as a simple reflector.
White cardstock can be used for fill light, the closer you are to the subject, the less shadows on the subject; on the contrary, black cardstock can “absorb light” to create shadows, and the closer you are to the subject, the denser the shadow of the subject.
In addition to preparing the appropriate tools, you also need to consider a question: what kind of shooting effect do you want.
Do you want uniform, shadow-free lighting, or rich light and shadow? Do you want the overall ambience of low contrast, or the drama created by the contrast of strong light and shadow? Do you want a high-key bright image, or a dark, dark background?
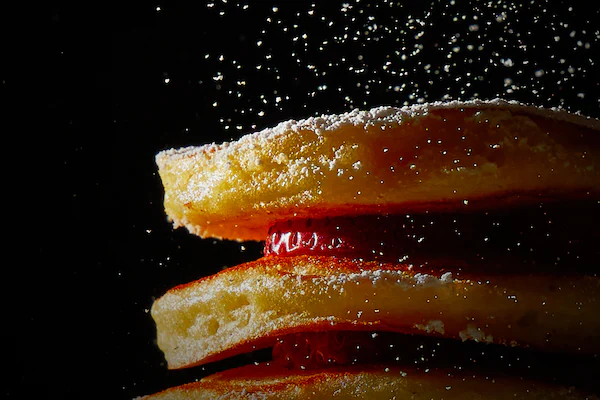
There is no such thing as a good/bad method, it depends on the subject you are shooting. For example, if you are shooting ice cream, because it has a “summer” mood, and the colors are uniform and bright, you often use low-contrast, soft, mid-high-key images:
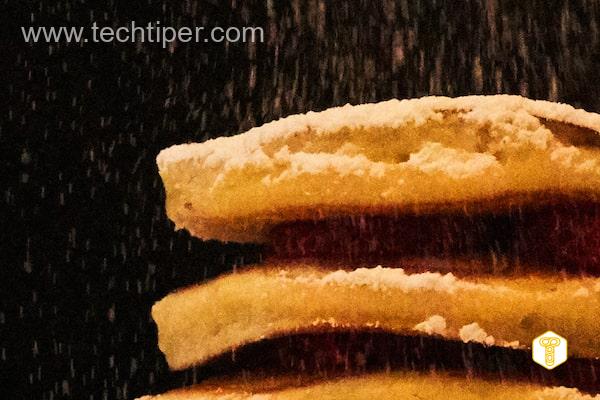
For other foods with complex surface structures, side lighting may be required to enrich their details and textures through highlights and shadows, while darkening the background to further highlight the subject:
2. Lighting method
Side light
Imagine the dial of a clock, you are standing at 6 o’clock, the camera is facing the center of the dial. If you put the light source at the 9 o’clock position, and then put a reflector (or other reflective material, such as white paper) on the opposite side at the 3 o’clock position, the edge lighting is completed:
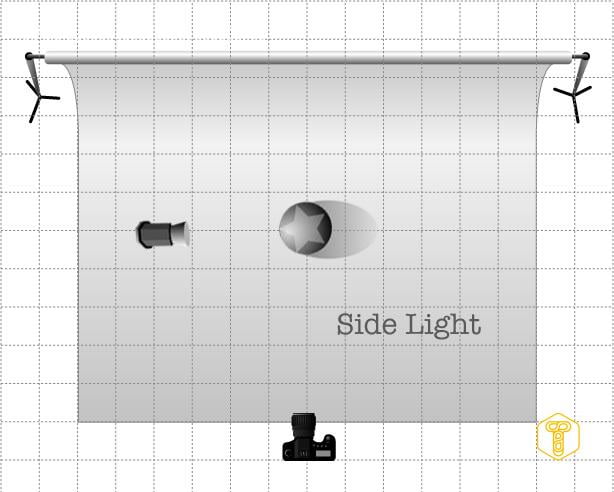
Some people say that putting the light on the left (9 o’clock) and the right (3 o’clock), the effect is not the same? Sorry, it’s really not the same.
This is because psychologically speaking, people tend to prefer light over darkness, and people’s inherent reading habit (whether reading a book or a picture) is from left to right, so the layout of “light on the left and dark on the right” tends to be more The left dark and right bright” layout gives people a better psychological impression.
As needed, you can move the aligned reflectors, and control the ratio of light and shadow by adjusting the distance from the reflectors to the subject.
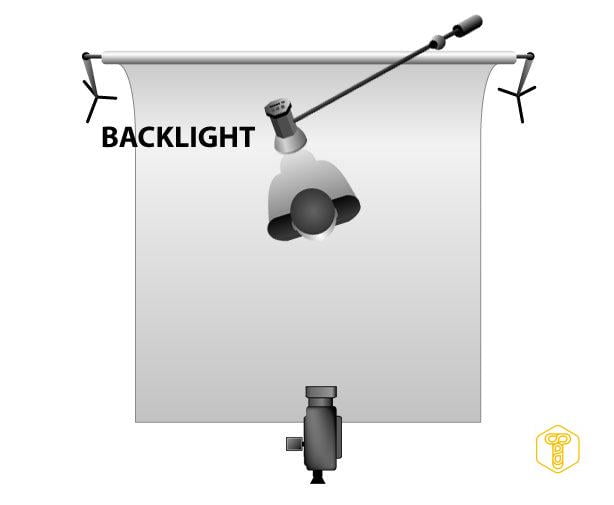
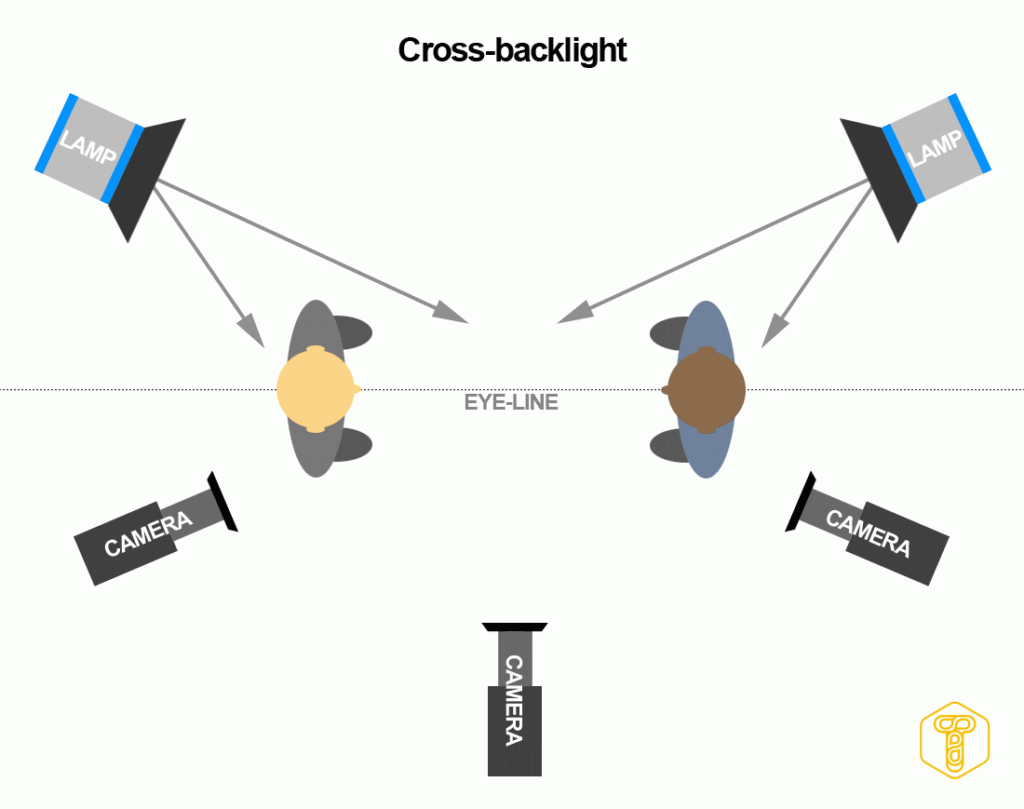
Backlight
Backlighting is to place the light source at 12 o’clock, directly behind the main body, and then place two reflectors in front to control the shadow ratio.
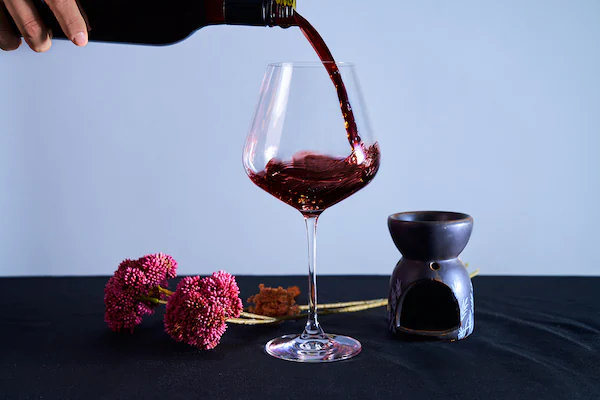
This lighting scheme is especially good for beverages and soups, as it adds highlights and accentuates the liquid texture of the food; in the same way, the backlight can also emphasize the texture of the food surface.
However, this lighting scheme is also prone to “accidents”: the highlights may be too bright, resulting in the overall “fading” of the picture; the ratio of the highlights may be too high; or the light ratio may be too large to cause exposure errors.
Using this light level is a test of patience, and you need to constantly adjust the distance from the light and reflector to the subject to get the best shot.
Side backlight
Put the light source at 10 o’clock or 11 o’clock, and the reflector in the opposite position, which can be regarded as a combination of side light and backlight:
Such a light position not only retains the role of the backlight position of “emphasizing texture and texture”, but also does not have the risk of direct reflection of the backlight entering the lens, which is prone to overexposure.
In addition to adjusting the position of the light source and the reflector to the subject, this light position also needs to adjust the height of the light source to control the shadow casting area and display effect:
At the beginning, it is best to use side lighting to practice your hands. After you are proficient, you can start to try backlighting, and finally experience the effects of side backlighting from different angles.